Design software tips: work smarter, not harder
-
Date Posted
2024-06-03
-
Tags
-
Written By

Working at Initiate requires staying on top of multiple high-priority tasks at once. How am I able to do this? Through improving my workflow, and with some simple tricks, all of us can create high-quality designs more efficiently.
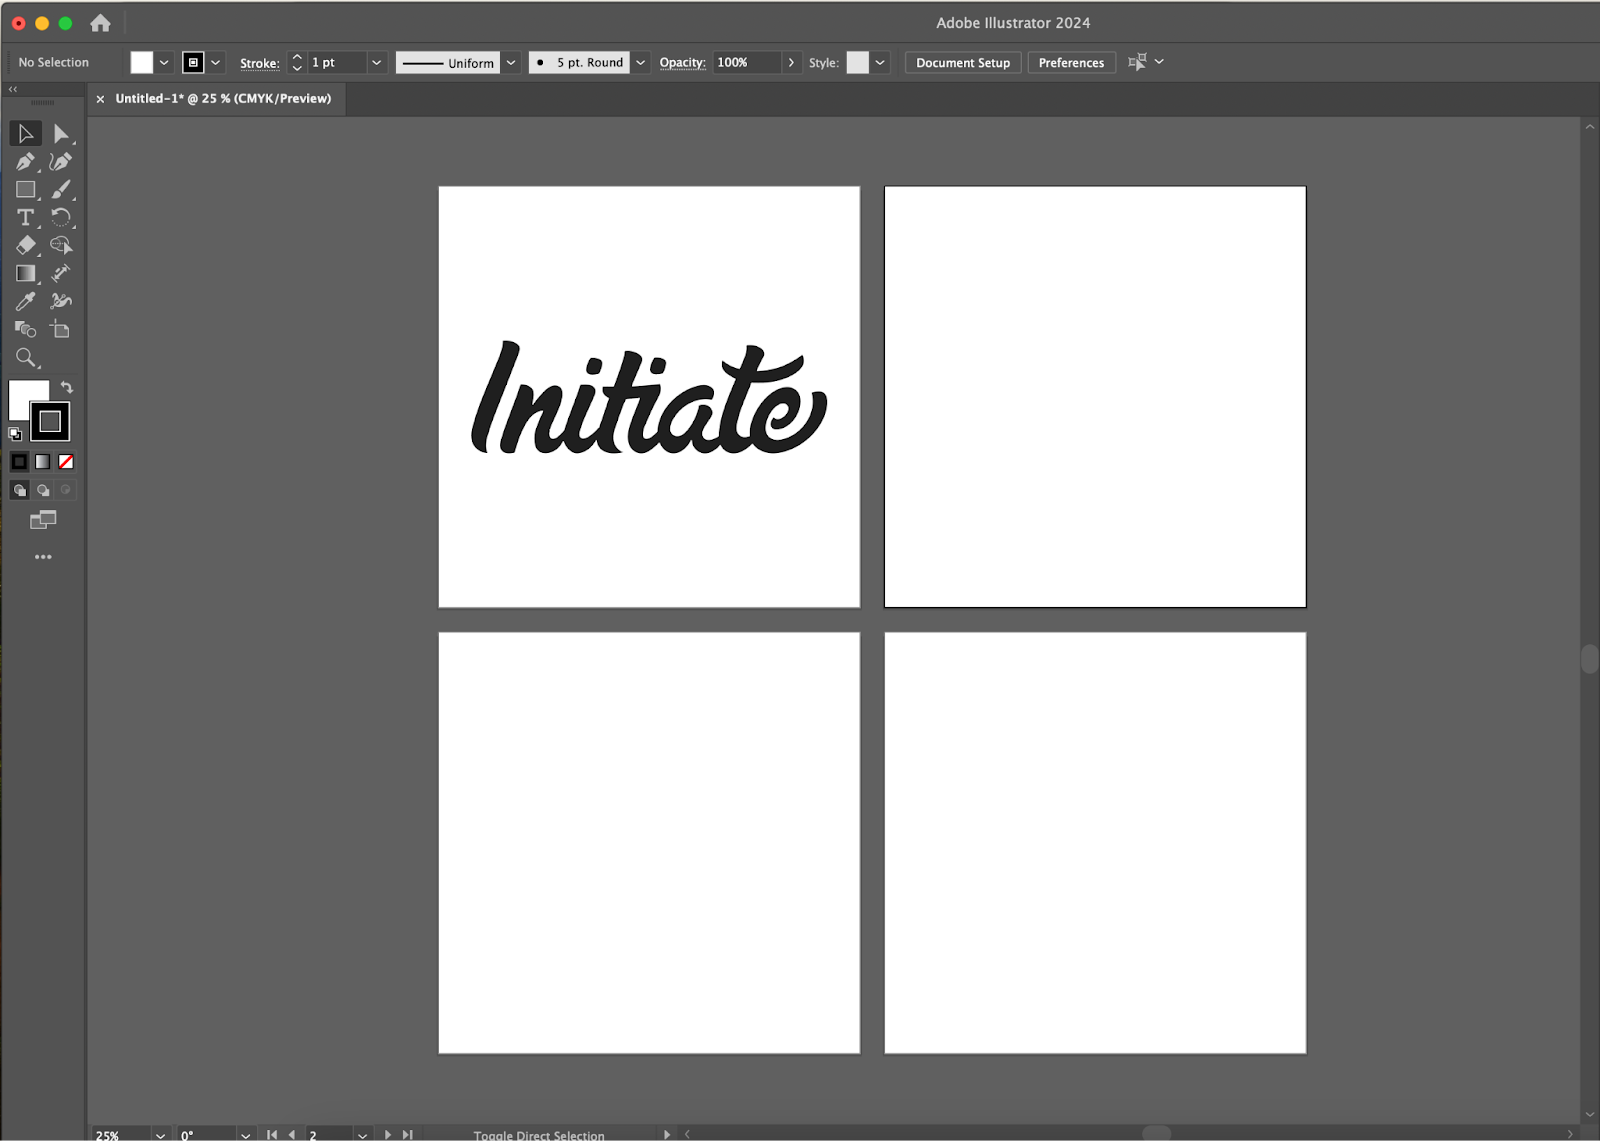
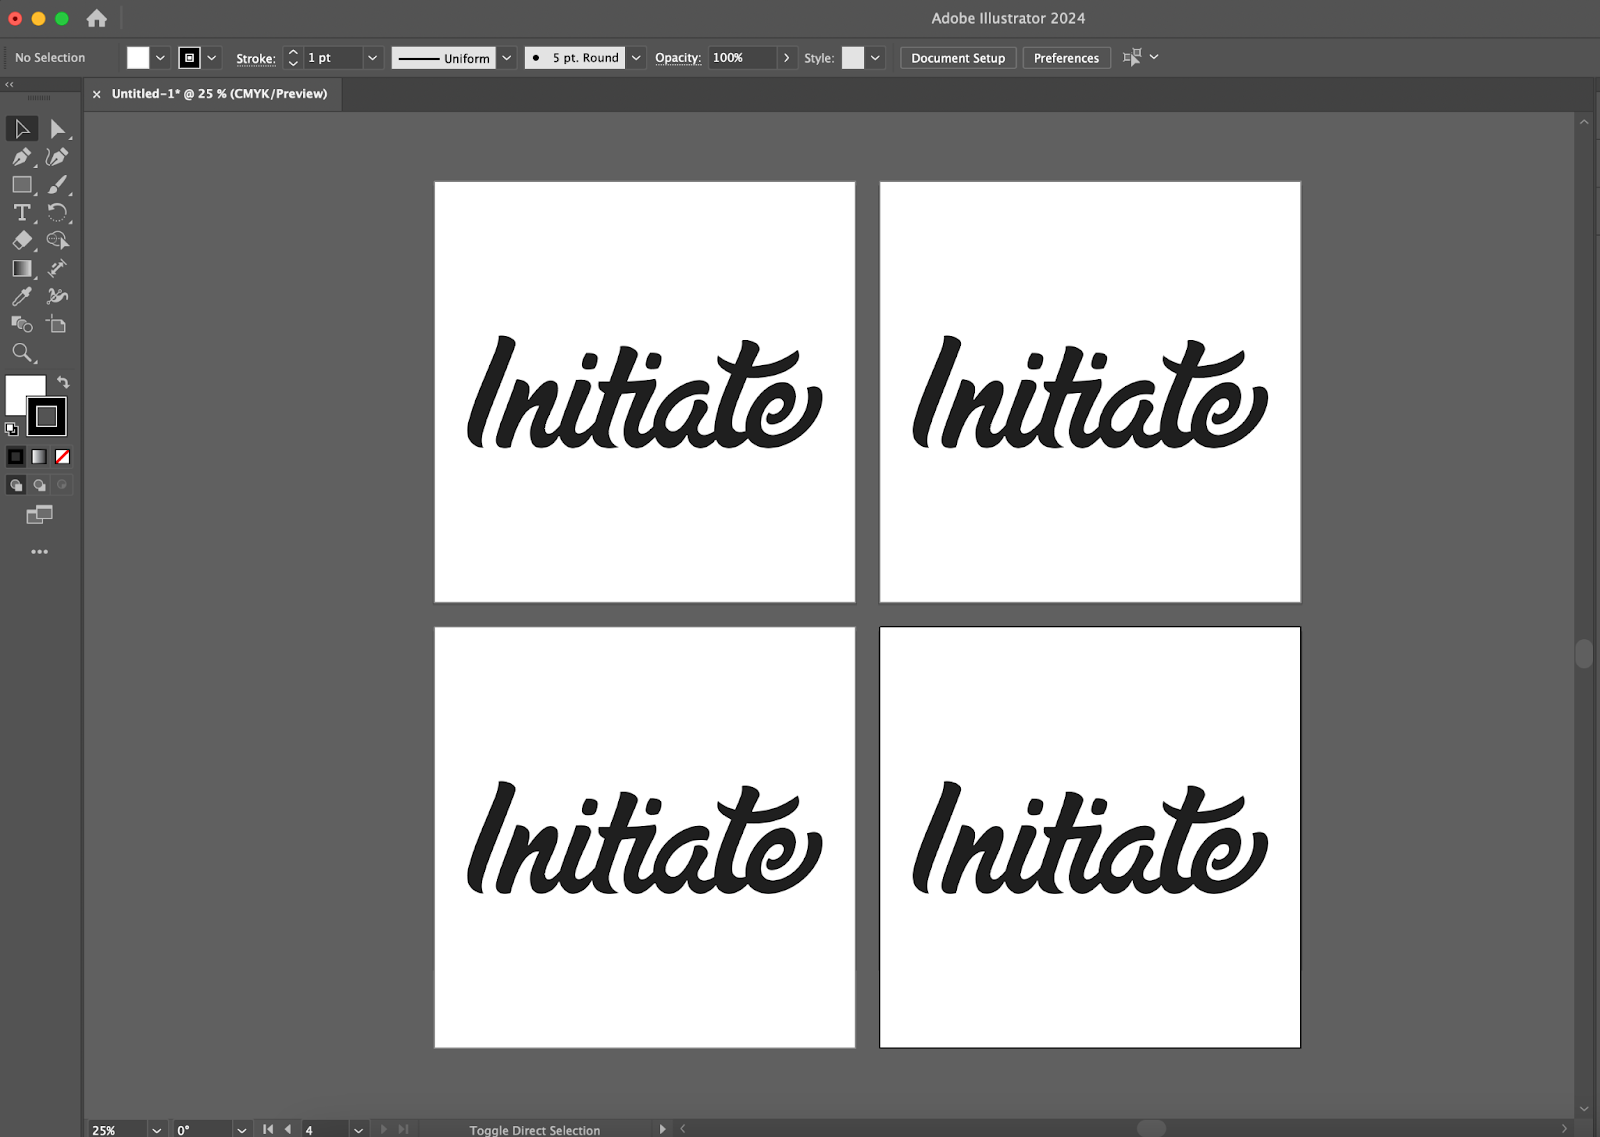
1. Illustrator: “paste” on all artboards
While graphic design is often a creatively driven passion project, it also often involves a lot of copy and pasting. Having a better set of key commands has improved my workflow tremendously. While working in Illustrator, you can hit option+cmd+shift+V to paste an asset across all artboards. This same key command also pastes objects in place on a new page in InDesign.

2. On Mac, pin anything to your “favourites” tab in Finder.
Mac’s finder comes with a few preset options like downloads and desktop that can sometimes be useful but aren’t the primary folders I use. By dragging a folder to the sidebar you can pin any folder to your favourites. I pin the folders for the clients that I work on frequently, as well as project folders for my largest current projects. This works best as a flexible system, where I move my favoirites folder around depending on the shape of my week.
3. InDesign: search tools
When searching in InDesign hit cmd+F, and select the Query drop-down menu.
This reveals a slew of different options that efficiently search for and replace typographical errors in your document. I make sure to remove double spaces and trailing white spaces in all documents I work on. This eliminates some of the manual proofreading required in a document.

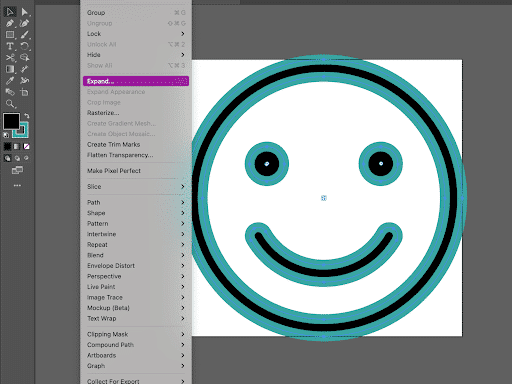
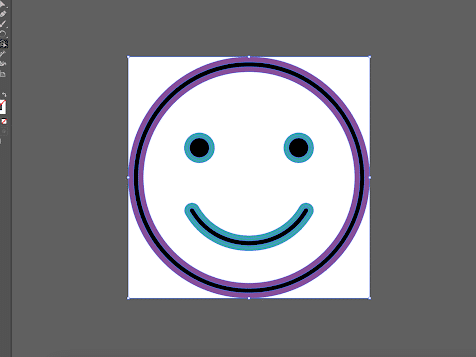
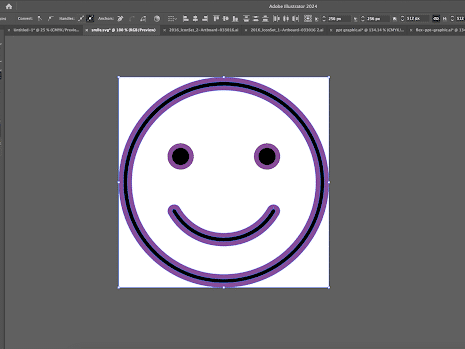
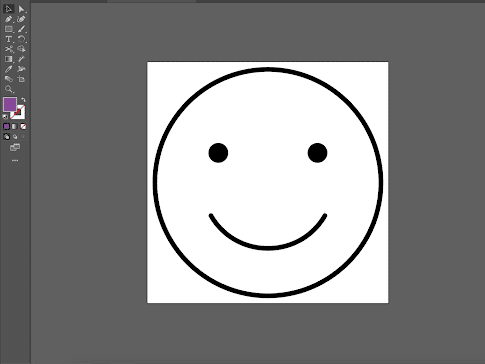
Use the “stroke/shape builder” tool to thin out icons
Found the perfect svg icon to put in your design but the line weight is too thick? Luckily there is an easy solution.
- Open your icon in Illustrator
- Apply a contrasting colour stroke. I always use my favourite colour just for fun.
- Click “object, expand” to expand the strokes into shapes.
- Now use the shape builder tool to combine the stroke shapes. (Pro tip, use your second favourite colour to improve your day)
- Use the direct selection tool to delete the shapes you’ve created.


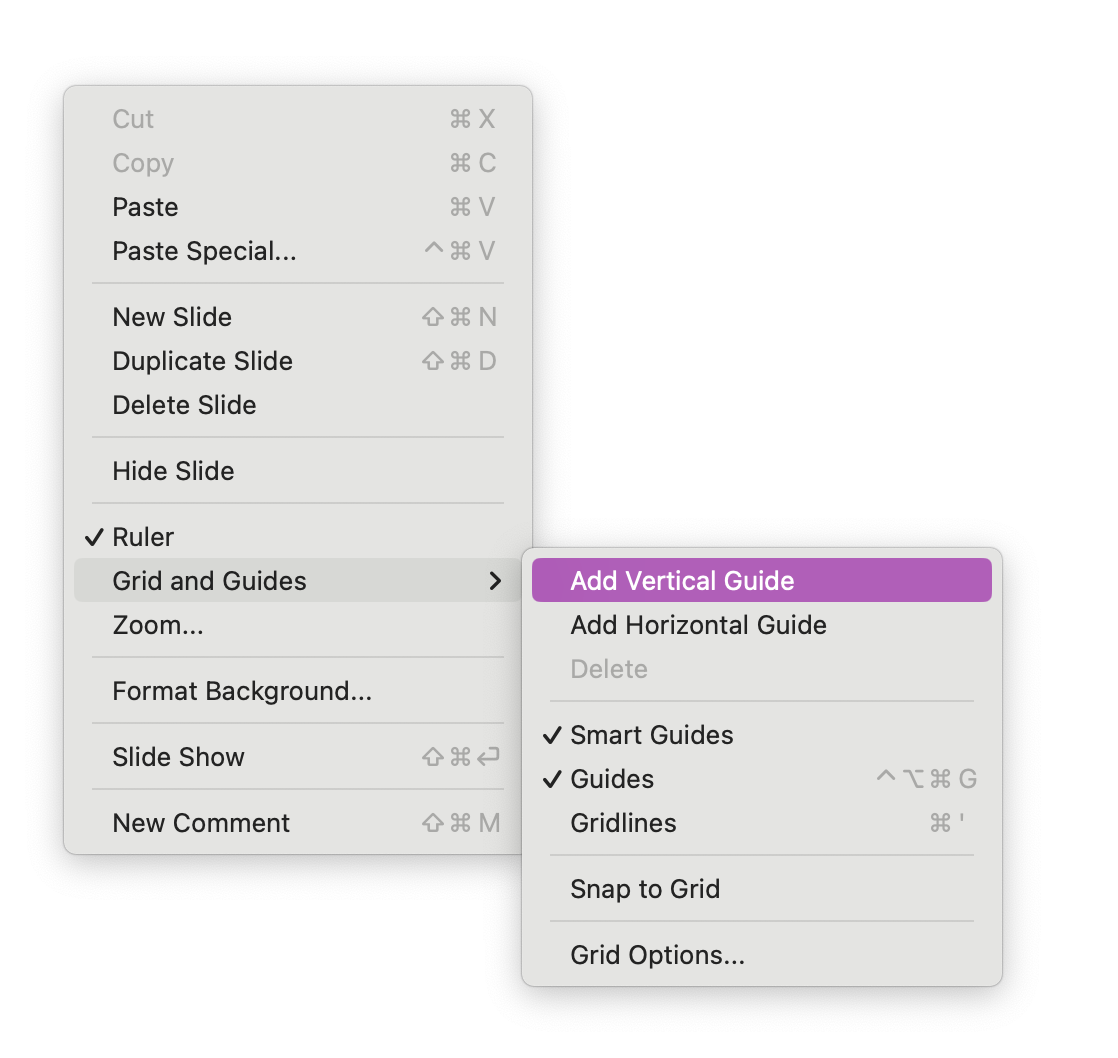
5. Guides in PowerPoint
Take your presentation to the next level by taking advantage of the guide tool in PowerPoint. Right-click to add a guide to your presentation. These guides will be in the same location across all slides allowing you to have precise alignment across the entire presentation. Holding down the cmd key allows the guide to be moved in more precise increments. This saves time by allowing elements on the page to be quickly and easily aligned automatically.
These quick design tips make a big difference in my workflow, which allows me to focus more on what I love most, being creative. Got any design tips to share?
Share
About the author
